
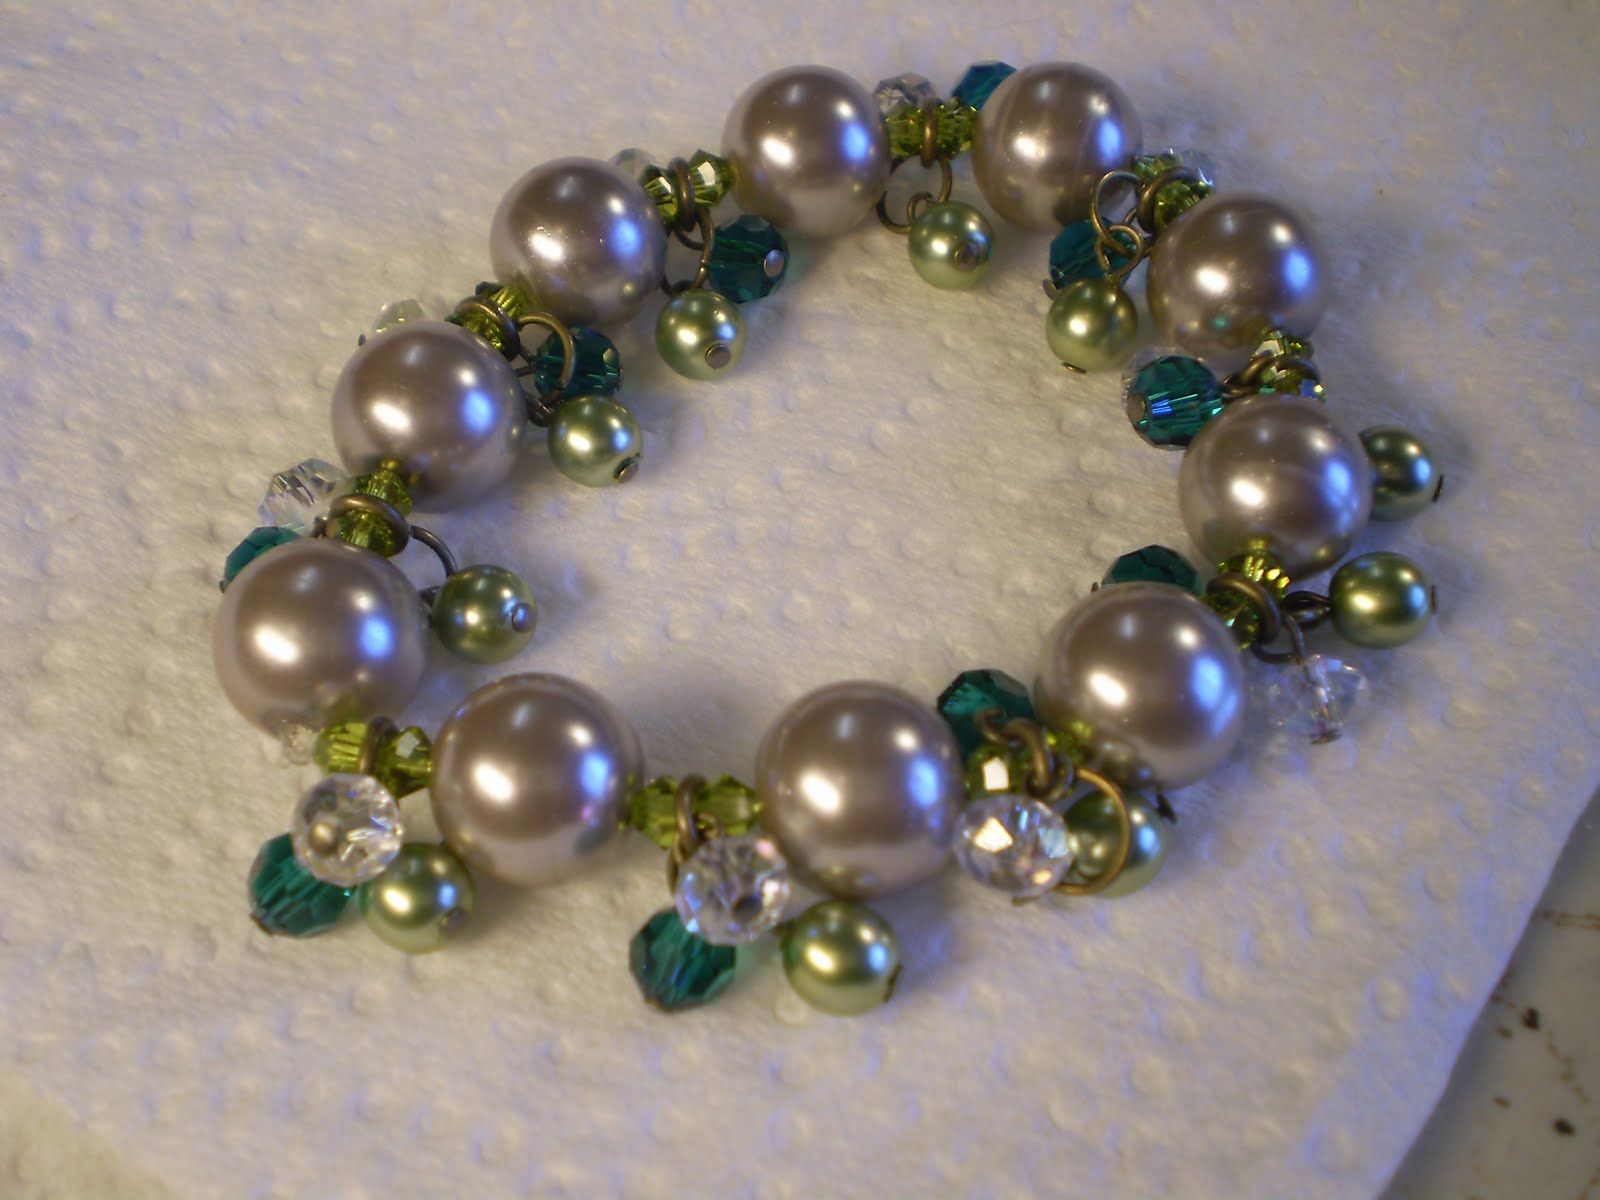
DANGLY CRYSTAL & PEARLS BRACELET
TUTORIAL by Lorri Lennox
Today I made this - Here's a step by step, quick tutorial, basic beading experience necessary :)

Materials required:
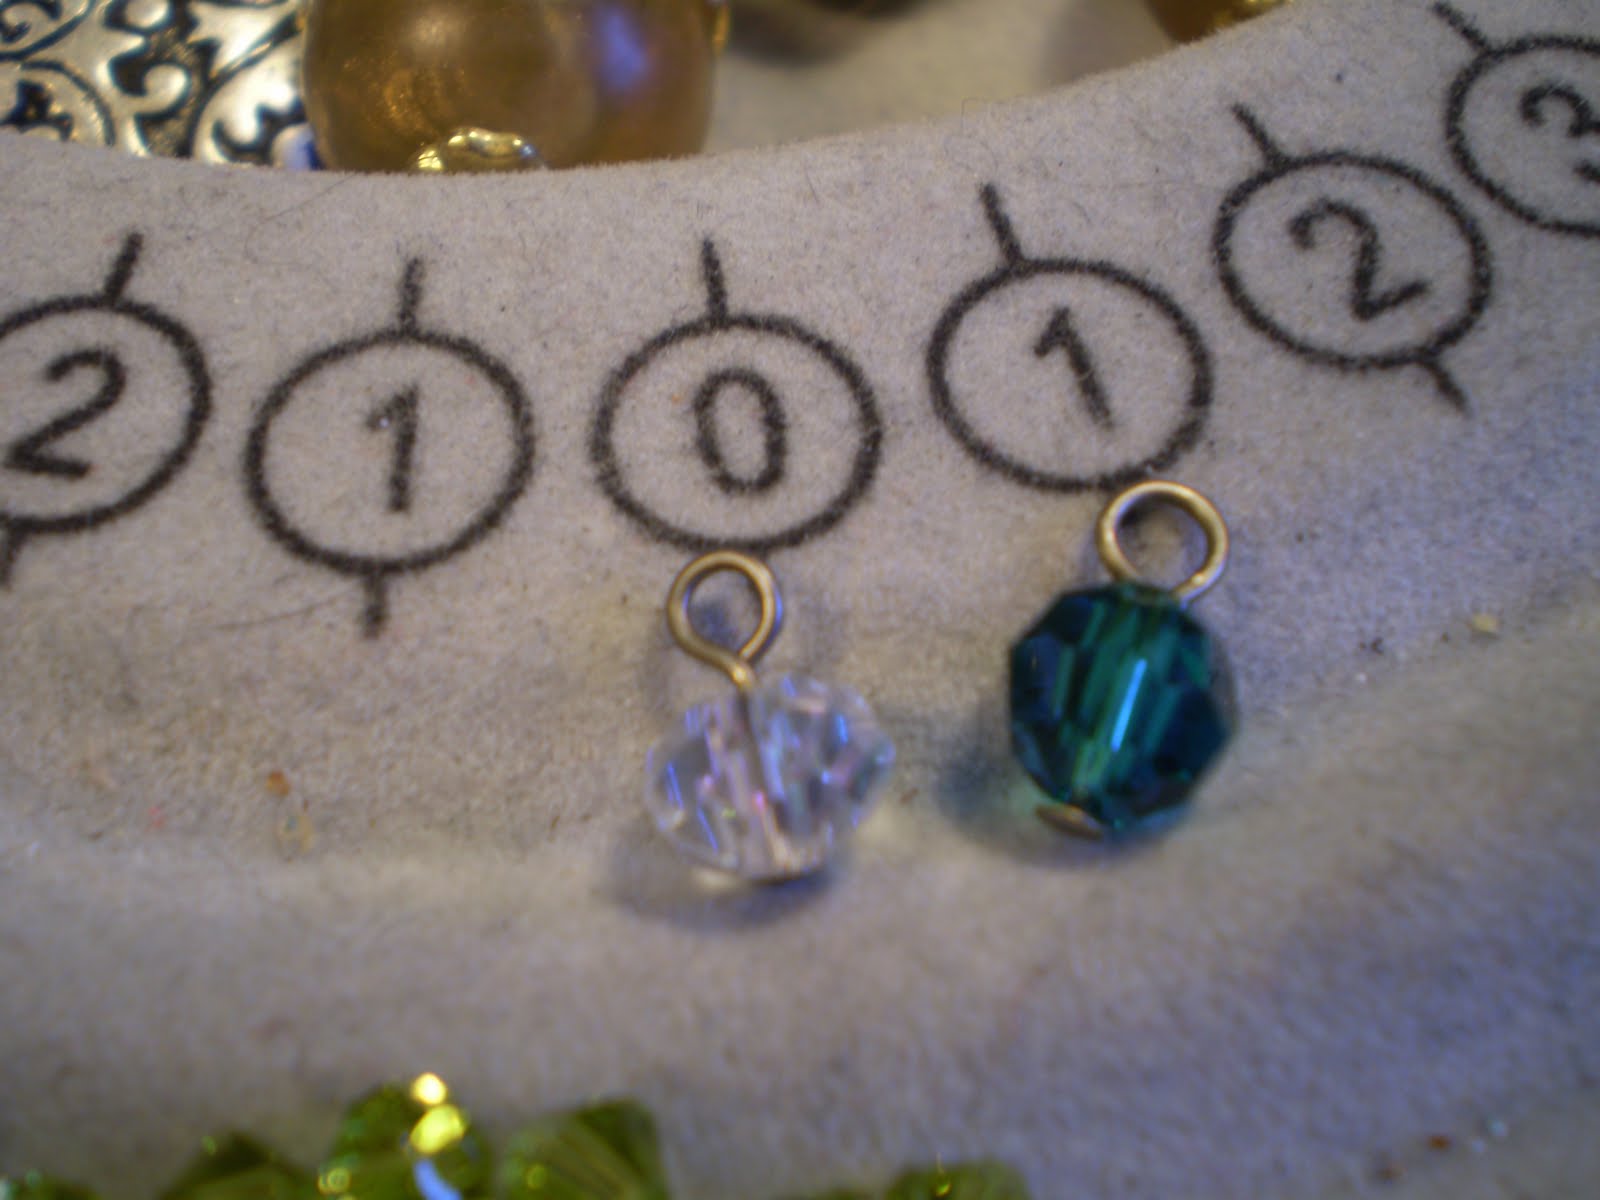
STEP ONE
Add a headpin & create a loop (as shown) on all the individual 6mm crystals.
20 crystals in total...
TUTORIAL by Lorri Lennox
Today I made this - Here's a step by step, quick tutorial, basic beading experience necessary :)
Materials required:
- Jewellery Pliers, assorted including round nose for creating loops
- Scissors for cutting stretch elastic
- Strong jewellery glue for gluing ends of elastic once cut
- Stretch Elastic Cord
- Jump Rings (your colour choice) - 4mm & 6mm
- Headpins
- Pearls - (your colour choice) 12mm x 10
- Pearls (smaller ones) 6mm x 10
- Crystals - Round - 6mm x 10 of one colour, 6mm x 10 of contrast colour
- Crystals - Bicone x 20 - 4mm your colour choice
STEP ONE
Add a headpin & create a loop (as shown) on all the individual 6mm crystals.
20 crystals in total...

STEP TWO
Add headpins & form loops on the 10 x 6mm pearls.
Add the larger 6mm jump rings to the loops created.
Each crystal and pearl should now look like this -
Add headpins & form loops on the 10 x 6mm pearls.
Add the larger 6mm jump rings to the loops created.
Each crystal and pearl should now look like this -

STEP THREE
Using the smaller 4mm Jump rings, Open them and connect one of each contrasting crystal and one of the pearls to it. Make sure you connect through the larger jump ring on the pearl so the pearl hangs lower than the crystals. Continue this process with the rest of the crystals and pearls, therefore creating 10 sets of 3 danglies.
Using the smaller 4mm Jump rings, Open them and connect one of each contrasting crystal and one of the pearls to it. Make sure you connect through the larger jump ring on the pearl so the pearl hangs lower than the crystals. Continue this process with the rest of the crystals and pearls, therefore creating 10 sets of 3 danglies.

STEP FOUR
Gather your 4mm bicone crystals together, Get your stretch elastic ready, Ream the larger pearls to ensure easier threading through the elastic, and gather your danglies...
Gather your 4mm bicone crystals together, Get your stretch elastic ready, Ream the larger pearls to ensure easier threading through the elastic, and gather your danglies...


STEP FIVE
Begin threading onto the elastic in the following order - a large pearl (note I changed colour here)
followed by a 4mm bicone crystal, followed by a 3 set dangly, followed by a 4mm bicone crystal.
REPEAT until all your crystals, pearls and danglies are threaded as such -


STEP SIX
Tie the elastic ends together securely, I do 4 knots and pull very tightly, being careful not to break the elastic (quality counts!!) Add a little strong glue to the knot. Cut off elastic ends.
Wear with a smile :)
 I hope you enjoyed my little tutorial, I had fun making this today :)
Lorri xo
great bracelet lorrie! i'd luv 2 C more of ur fab jewelry! :D
ReplyDeletesoooo pretty, sweet SS! A very lucky lady that gets to own this auslorri-designed bracelet!
ReplyDeleteThanks for taking the time to share the clear, step-by-step instructions and the pics to go along with them! Really love the pretty dangle part & also the colors you picked. I've never made a stretch-y one, and now you've inspired me to try it! xxooxx
this is very beautiful and it is very generous of you to share the making.
ReplyDeletethank you